Manage public site
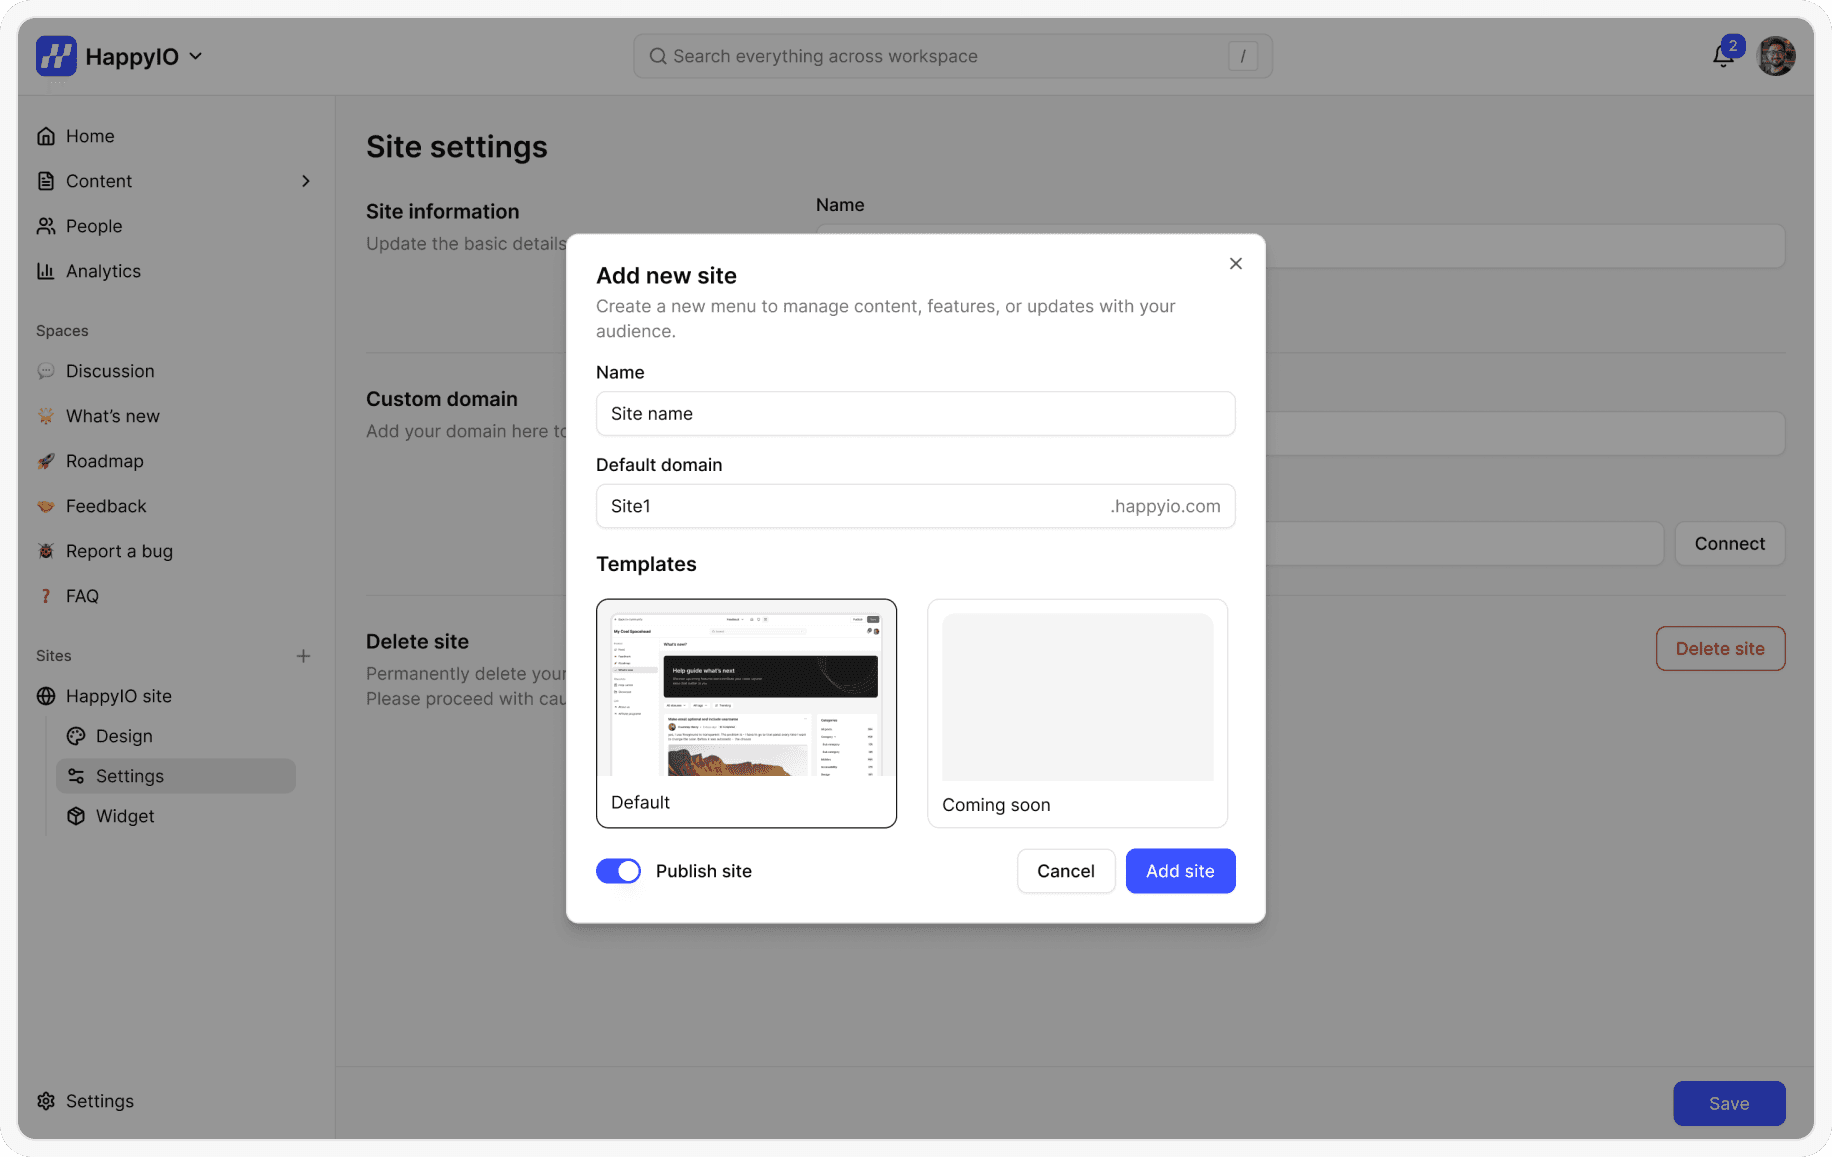
Add a new public site
When you create a new workspace, a default public site is automatically created for your community. You can add additional public sites at any time, depending on your needs.
Steps
From your HappyIO workspace, navigate to the Sites from the sidebar
Click icon (+) in the top-right corner of the Sites
On Add new site popup, enter a name for your public site (it will get the workspace name by default)
You can decide to publish site immediately or later by clicking toggle Publish site
Click Add site
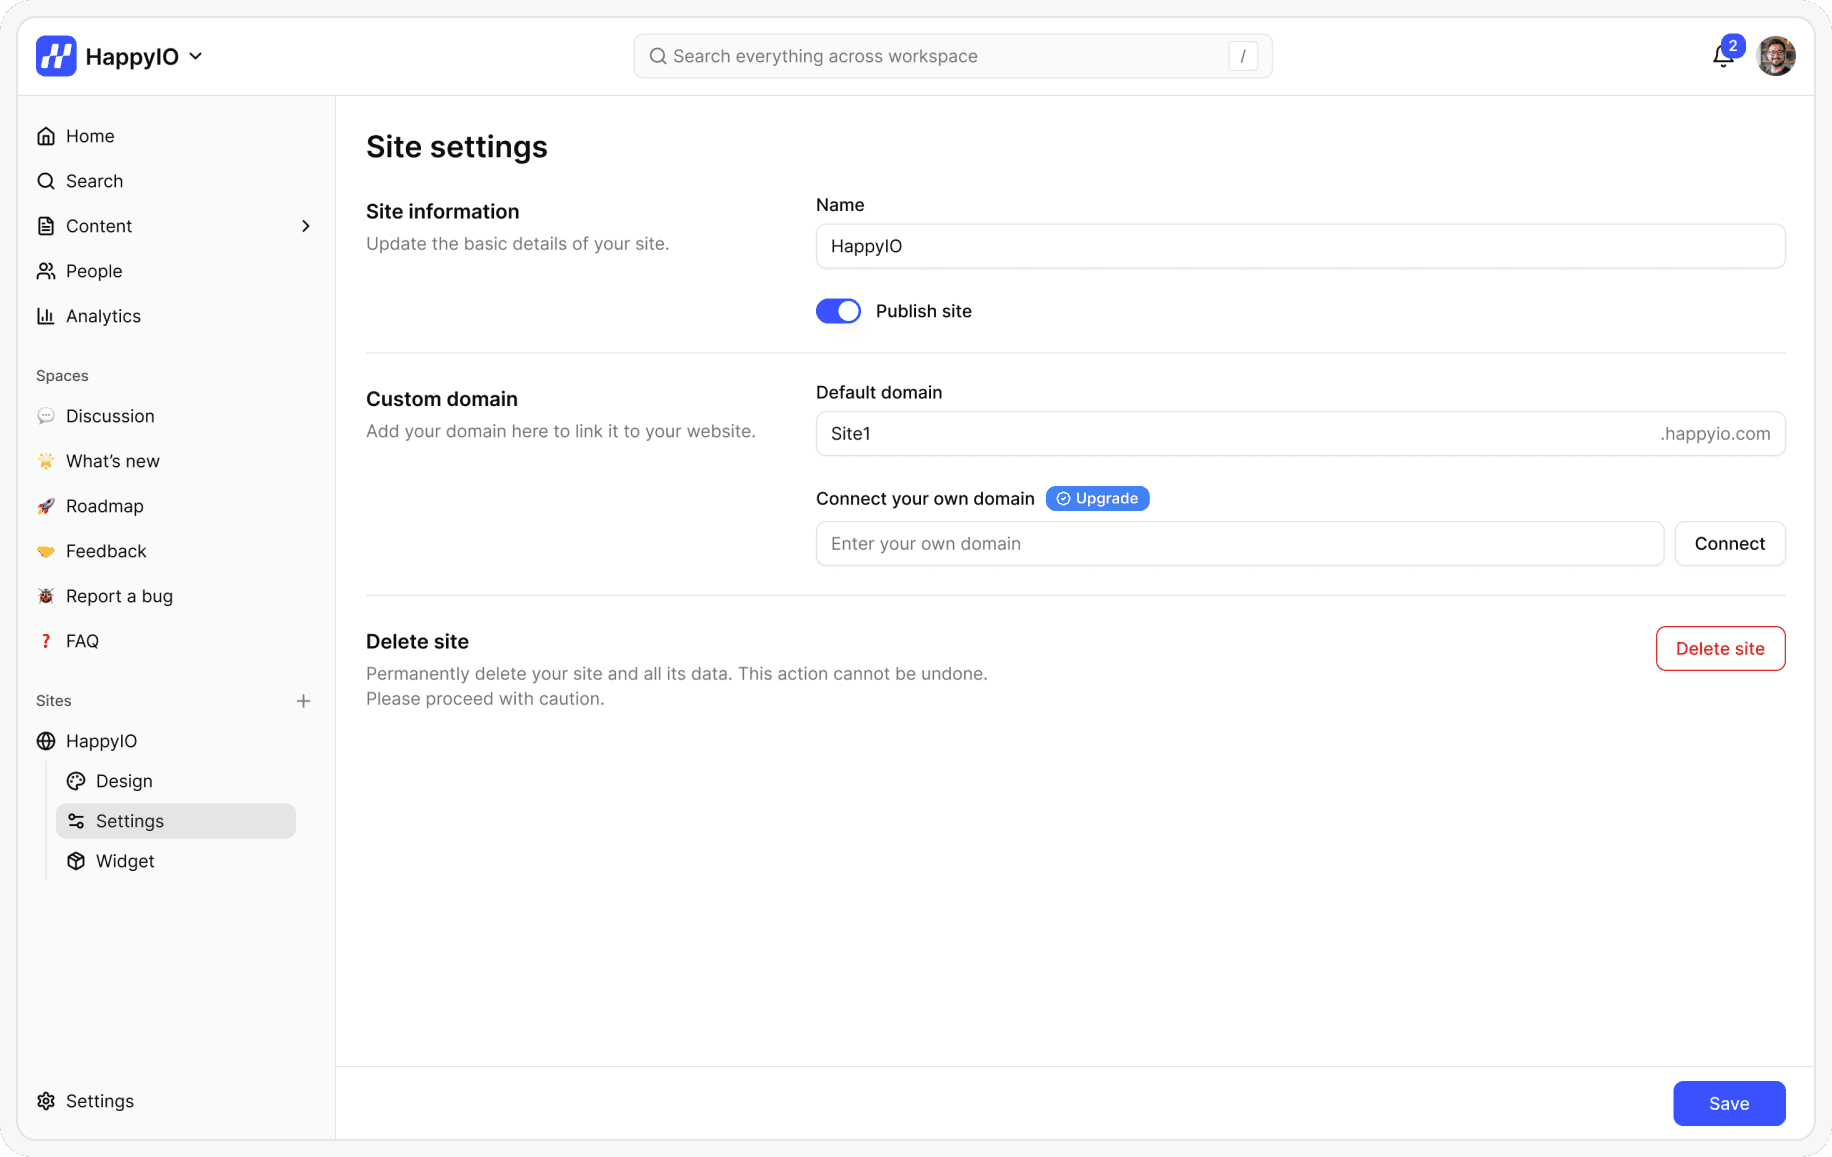
Publish a public site
Steps
From your HappyIO workspace, navigate to the Sites from the sidebar
Click title of the site that you want to publish and click Settings
Click toggle Publish site on
Click Save
Delete a public site
Steps
From your HappyIO workspace, go to Sites from the sidebar
Click title of the site that you want to delete and click Settings
Click Delete site
In the confirmation popup, click Confirm
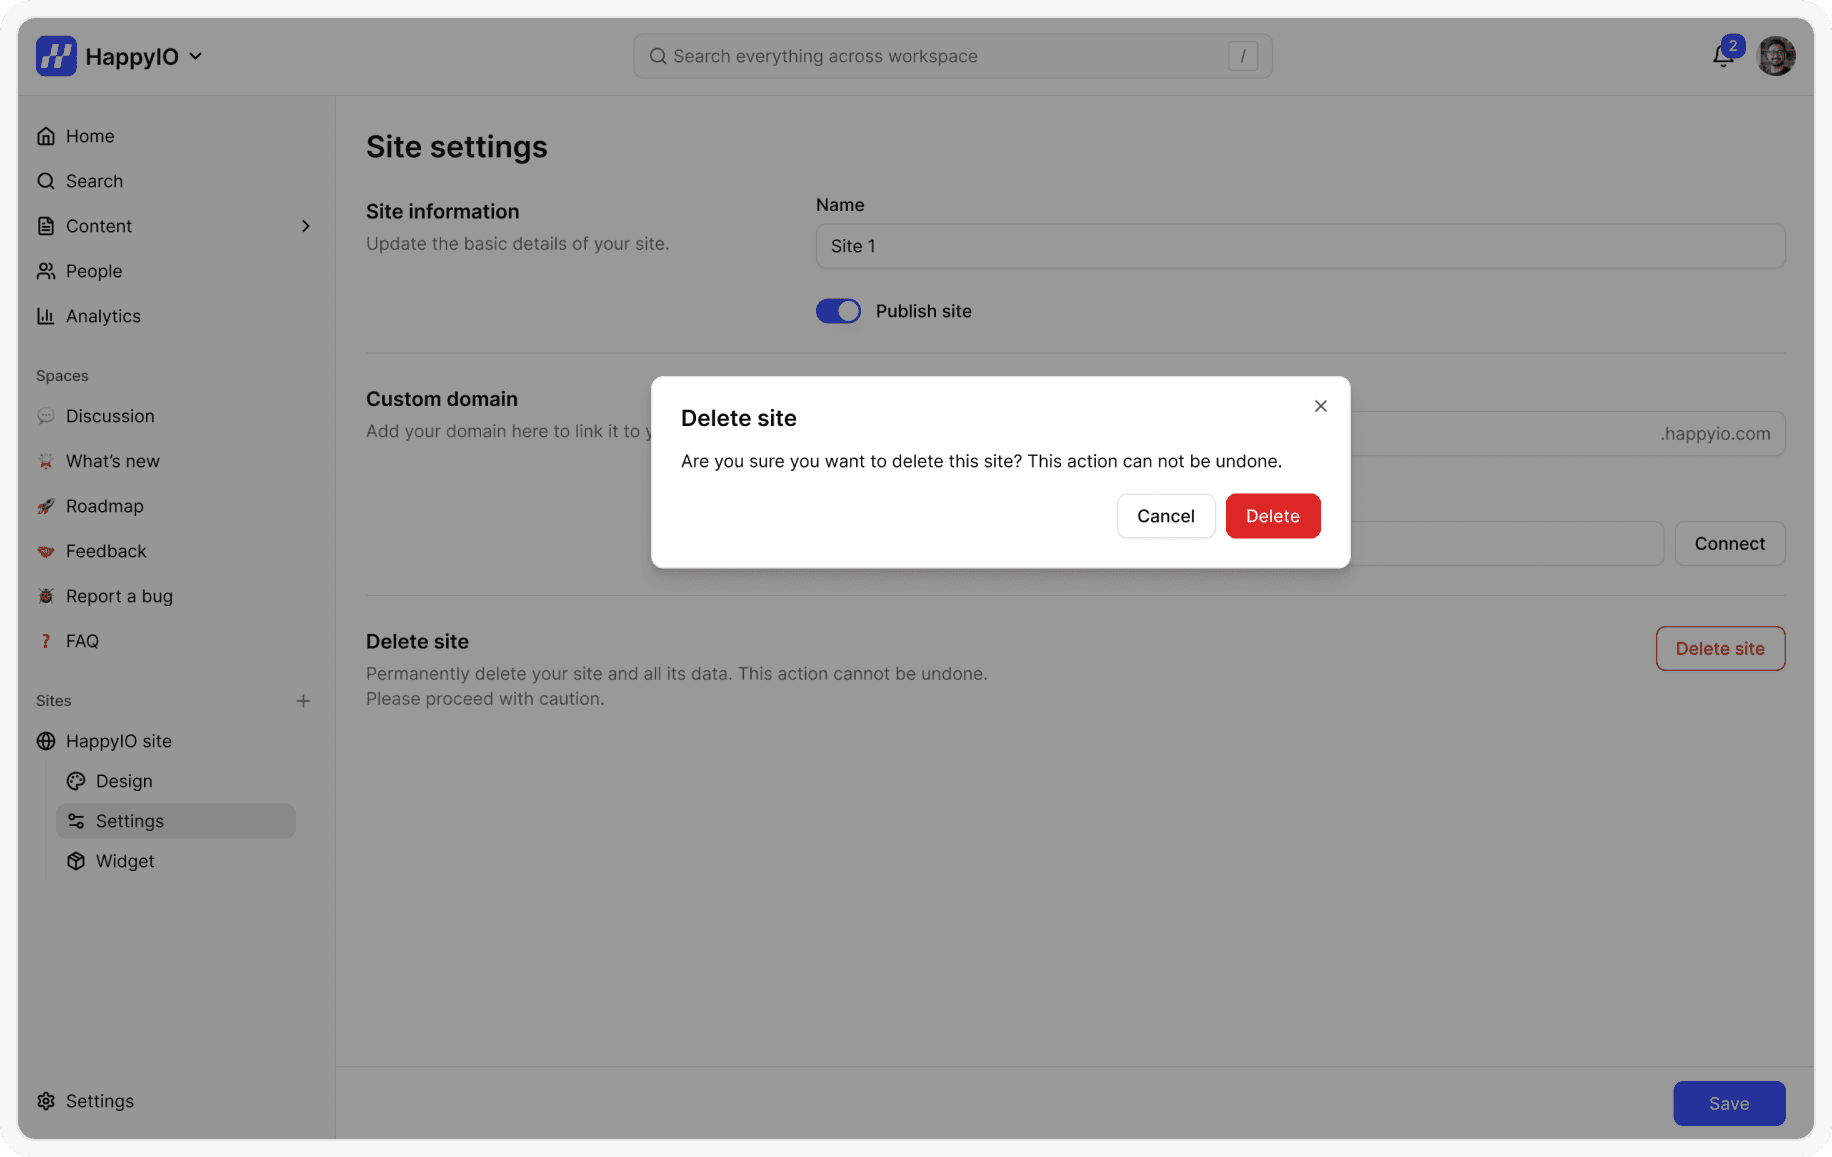
Note
Deleting a site will not delete your workspace or its posts.
The content will remain in your workspace, but the public-facing site will no longer be accessible.